Half LED Strip Lights Not Working
LED strip lights are increasingly popular for their energy efficiency, customisability, and sleek design. As versatile as they are, they may sometimes develop issues that result in parts or half of the strip not working. To resolve this problem, it’s crucial to understand the inner workings of LED strip lights and their potential issues.
Like any electrical device, LED strip lights can encounter various problems during their lifespan. Half of the LED strip light may stop working due to multiple factors such as insufficient heat sinking, loose connections, or faulty components. Therefore, knowing common reasons behind these issues can point you in the direction needed for troubleshooting and fixing your LED strip light, ensuring longevity and continued enjoyment.
Key Takeaways
- Understand the workings of LED strip lights to fix and prevent issues
- Identify common reasons for half of the LED strip not working
- Learn troubleshooting steps and preventive measures for long-lasting LED strip lights
The Basics of LED Strip Lights
LED strip lights are becoming increasingly popular for their versatility, energy efficiency, and ease of installation. Before diving into the reasons that could cause half of your LED strip lights to stop working, it’s essential to understand how these lights work and their common components.
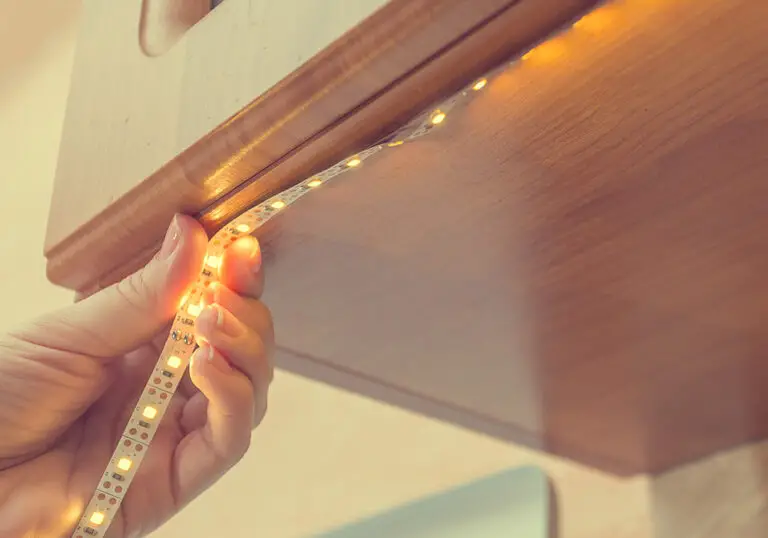
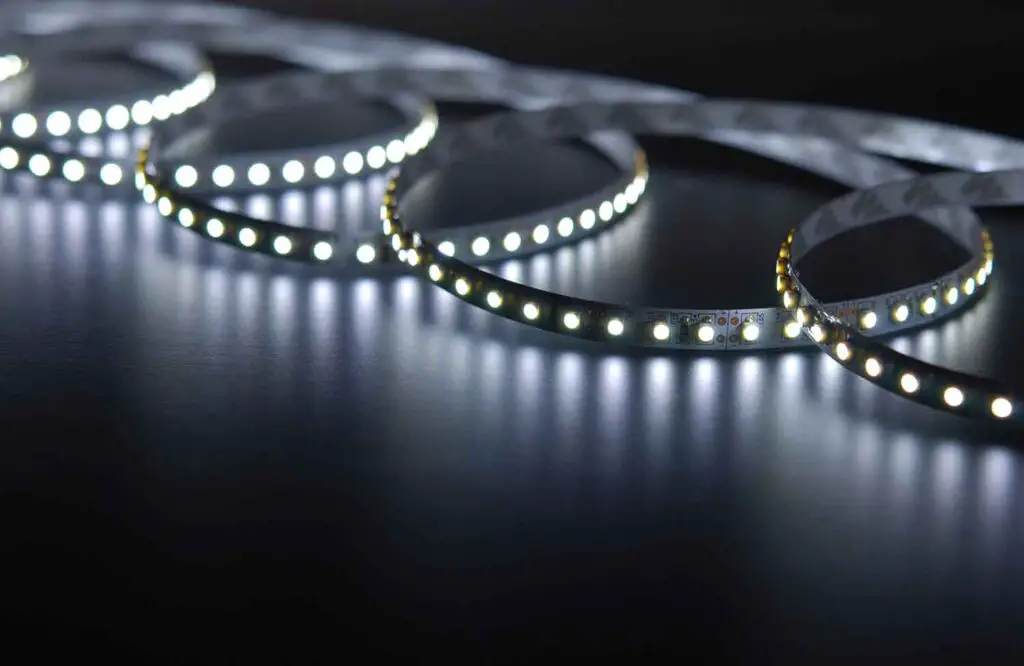
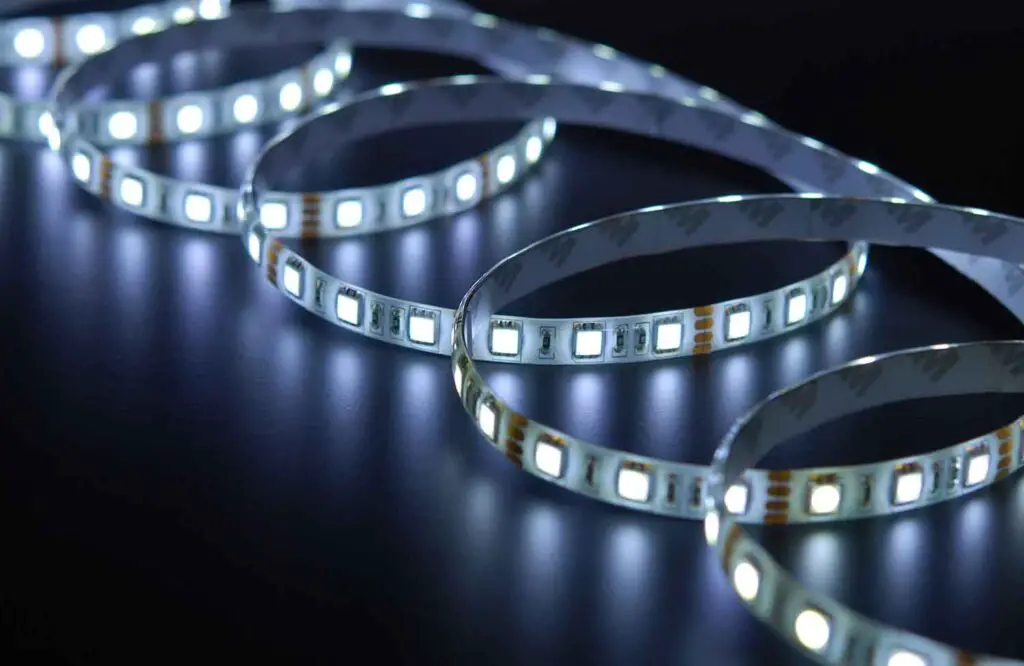
LED strip lights consist of surface-mounted LEDs placed on a flexible circuit board. The LEDs are typically arranged in groups, with each group having resistors to regulate the current flowing through the LEDs. The strip lights can be cut and connected according to your needs, making them perfect for various lighting applications in your home or office.
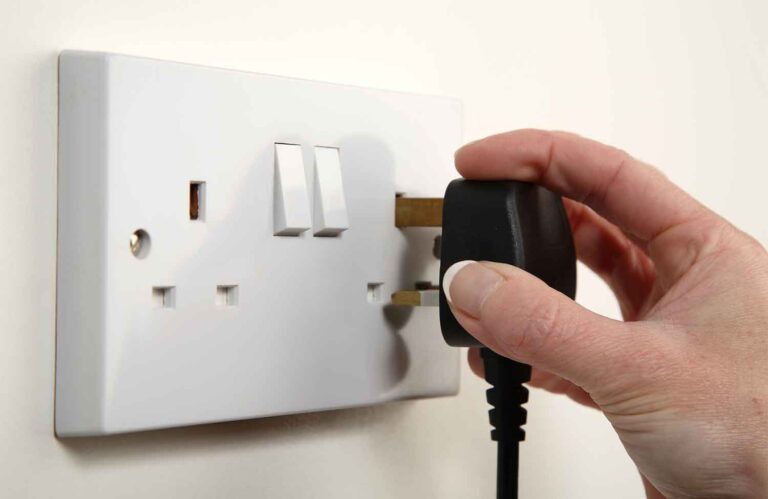
The power source for LED strip lights is crucial, as it converts your mains voltage (typically 220-240V in the UK) to a lower voltage (usually 12V or 24V) suitable for powering the LEDs. Ensure that your power supply unit (PSU) matches the voltage requirements of your LED strip to avoid any damage or malfunction.
When installing LED strip lights, you might come across connectors and solder joints. Connectors facilitate the connection of multiple LED strip segments, while solder joints are used to establish electrical connections between the LED strip and other components like wires and connectors.
Now that you have a basic understanding of the components and functions of LED strip lights, you can better troubleshoot and fix potential issues that cause half of the LED strip lights to stop working. Remember to follow safety guidelines and switch off the power before working on any electrical components.
Common Reasons for Half LED Strip Lights Not Working
In this section, we will explore various reasons why half of your LED strip lights might not be working. Knowing the common issues will help you better understand and troubleshoot your LED strip light problems.
Power Source Problems
The first thing to consider is your power source. A poor or insufficient power supply may cause your LED strip lights to fail or underperform. Check the voltage and current ratings of your power supply and ensure it’s adequate for your LED strip light requirements. Additionally, make sure the adapter and other components can handle the voltage and avoid using multiple power supplies for a single strip, as this may lead to uneven voltage distribution and affect the performance of your lights.
LED Strip Circuit Issues
LED strip lights consist of multiple circuit board sections containing surface-mounted diodes. Soldering issues, circuit board imperfections or damage can cause sections of the LED strip light to fail. If you notice that specific areas of your LED strip are unlit or exhibit strange behaviour, you may have a damaged circuit board section. It’s essential to carefully inspect your strip lights for any visible signs of damage and replace them if necessary.
Faulty LED Bulbs
Over time, individual LED bulbs can fail, leading to parts of the LED strip not working. Thermal issues or manufacturing defects can impact the lifespan and performance of your LED bulbs. Regularly inspect your LED strip for any flickering or unlit bulbs, as these may indicate a faulty LED bulb that needs replacing.
Wiring and Connector Issues
Loose connections, poor quality connectors, or damaged wires can also be the culprit behind half of your LED strip lights not working. Examine the connections between the strip segments and ensure that all connectors are securely fitted and soldered. If you find any damaged or loose wires, repair or replace them as necessary. Inadequate wiring or connectors can lead to inconsistent illumination, flickering, or even the complete failure of your LED strip lights.
Troubleshooting Steps
Testing the Power Source
First, ensure that your LED strip light is receiving power. Check the power source and its connection to the LED strip. If there’s no power, the problem could be a blown fuse or a faulty power supply. Replace the fuse or power supply if necessary. Remember to turn off the power before making any adjustments.
Inspecting the LED Strip Circuit
Next, examine the LED strip circuit carefully. Any breaks or damage in the circuit can cause part of the strip to stop working. If you detect any issues, you might need to replace the affected section of the LED strip.
Checking Individual LED Bulbs
It’s also important to check the individual LED bulbs. Partially failing LED strip lights may be due to one or several faulty bulbs. If a bulb is not functioning, try replacing it. However, if multiple bulbs are out, it’s more likely an issue with the circuit or connections.
Examining Wiring and Connectors
Lastly, inspect the wiring and connectors between different sections of the LED strip. Loose or disconnected wires can be the cause of half the strip not working. Reconnect any loose wires and ensure that all connectors are properly seated. Verify that there is no corrosion, which can inhibit the flow of electricity.
By following these troubleshooting steps, you should be able to identify and fix your half LED strip lights that are not working. Keep in mind that handling electrical components can be dangerous, so always take proper precautions and consult a professional if you’re not comfortable performing the repairs yourself.
Preventive Measures
Proper Installation
To avoid having issues with half-working LED strip lights, it is essential to ensure proper installation from the beginning. This includes making sure that all connections between LED strip segments are secure, and that the power supply voltage aligns with the LED strip voltage. Remove any moisture or dust from the surface before adhering the strip, and handle the LED strip carefully to avoid damaging the internal components. Following these measures will help keep your LED strip functioning correctly.
Routine Check-Up
Performing routine check-ups on your LED strip lights can help identify any potential issues before they become major problems. This includes routinely checking for loose connections, examining the LED strip for any visible damage, and measuring the voltage of the unlit sections to identify malfunctioning parts. By keeping an eye on the condition of your LED strip lights, you can spot issues early and avoid situations where half of your LED strip stops working.
Quality Product Selection
Choosing high-quality LED strip lights and components is another crucial step in preventing issues with half-working LED strips. Make sure to select an appropriate heat sink for your strip lights to avoid overheating, and opt for a reliable power supply that provides constant voltage or current according to the requirements of your LED strip. Investing in quality products will ensure long-lasting performance and reduce the risk of problems occurring with your LED strip lights.

