Will Any Lightbulb Work as an Oven Lightbulb?
The lightbulb in your oven may look like the other bulbs around your home, but they aren’t quite the same. As you may already be aware, regular bulbs, particularly LED bulbs, are highly sensitive to extreme temperatures. This makes them unsuitable for usage in ovens, for which you must instead use a particular type of specialty lightbulb.
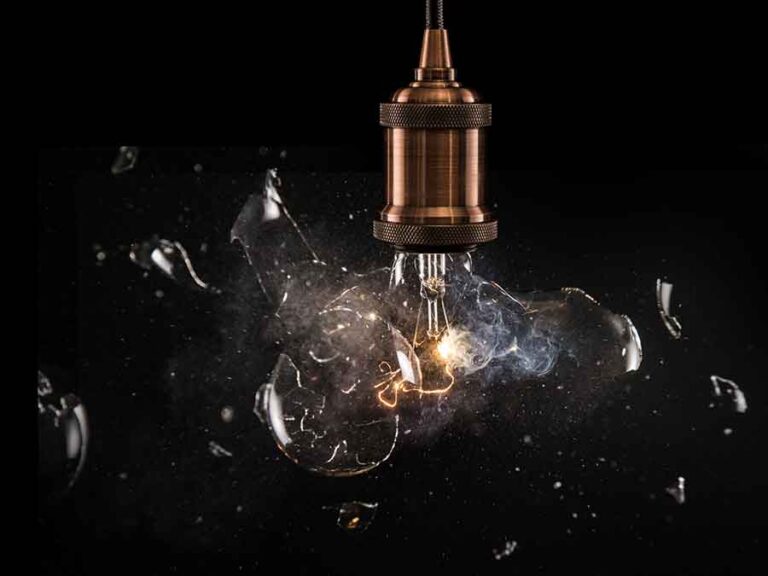
In short, no, you can’t use any kind of lightbulb as an oven lightbulb. Ovens require lightbulbs that have been specifically designed for use in such appliances. These bulbs are aptly named ‘appliance bulbs’, and are found in ovens, fridges, and other similar appliances. They are specially designed to withstand the harsh conditions in these appliances, namely the extremely high temperatures that ovens can reach. Using a normal lightbulb in an oven creates a safety risk; these bulbs are vulnerable to shattering under the high temperatures that an oven’s interior typically reaches.
Can You Use Any Lightbulb in an Oven?
No, you cannot use any kind of lightbulb in an oven. Ovens require lightbulbs that are specially designed for the high temperatures that these appliances reach.
Because of their sensitivity to heat, the lightbulbs that you use in your normal lighting fixtures are not suitable for use in your oven. Normal lightbulbs will not be able to withstand the high temperatures that accumulate on the oven’s interior. Aside from the heat, regular lightbulbs are also vulnerable to the vibrations of the oven during its operation.
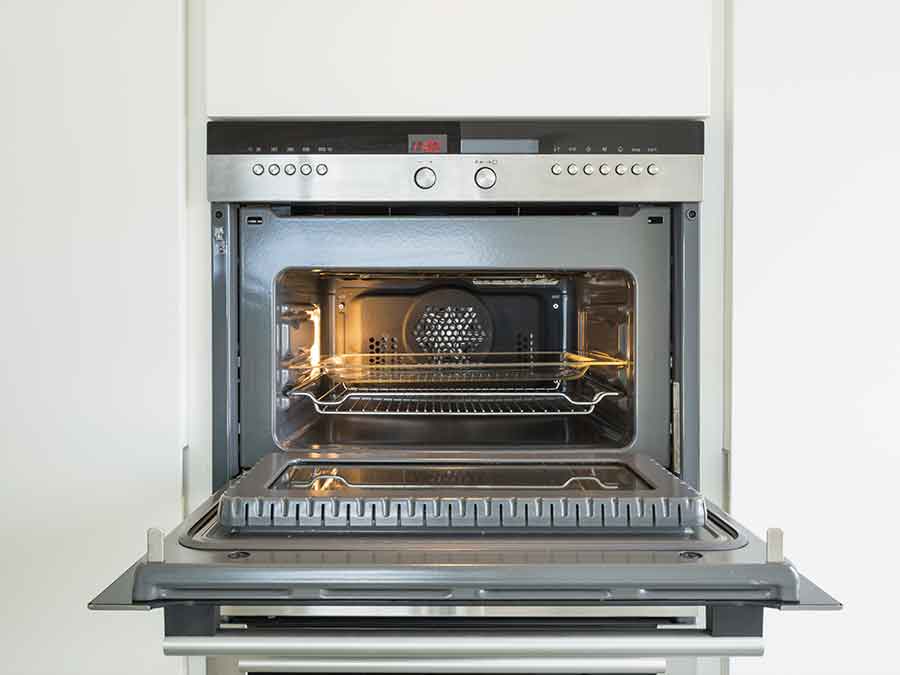
Normal bulbs are highly prone to shattering under any of these conditions. As such, using the wrong type of bulb in your oven will create a significant safety hazard. Considering these risks, you must choose the correct type of bulb when replacing the one in your oven.
What Type of Lightbulb Do You Use in an Oven?
For ovens, you must use bulbs that are specifically intended for use in such appliances. These lightbulbs are commonly referred to as ‘appliance bulbs’ and are manufactured to withstand the harsher conditions that appliances like these involve.
Appliance bulbs are built to withstand extremes of both hot and cold temperatures. For this reason, the lightbulbs you use in your oven are the same as those that you use in your fridge. As we’ve mentioned, appliance bulbs are designed to be shatterproof under these extreme conditions, whereas normal bulbs are not.
Another difference between normal bulbs and appliance bulbs is the disparity between their wattages. Normal bulbs come with typical wattages of 60, 90, or 100 watts. Appliance bulbs, on the other hand, have much lower wattages of around 25 or 40 watts. This is because you don’t necessarily need an incredibly bright bulb within your oven or fridge; their only purpose is to light up the oven’s interior, therefore they don’t require a huge amount of wattage.
How Do You Replace the Bulb in an Oven?
Replacing the bulb in an oven is a relatively simple process that you can carry out yourself. If the bulb in your oven has blown, we’ve detailed the steps for oven bulb replacement below.
1. Cut Power to the Oven
First of all, you should cut off the oven from its power source. This is a crucial first step when working with any kind of electrical appliance to avoid any potential safety hazards. Switch off the oven at the wall and remove its plug from the socket. If the plug is in a hard-to-reach position, cut the power to the oven using the relevant switch at your circuit breaker box. Also, if the oven was used recently, allow it to cool down completely before moving on to the next step.
2. Locate the Lightbulb in Oven
Next, you’ll need to locate the lightbulb in its protective housing within the oven. Before doing so, remove all of the racks and anything else in the oven that may get in the way. Then, look for the lightbulb at the back of the oven; it will be behind a protective lightbulb cover, typically located in the top left or top right corner of the oven’s interior. You may find this process easier with the use of a torch.
3. Remove the Lightbulb Cover
You’ll then need to remove the lightbulb cover to access the bulb behind it. The cover may be secured in place with wire clips or a metal ring. Release any fasteners on the cover; you can usually do so using a gentle anticlockwise twist on the fasteners.
If at this point you’re unable to remove the cover, try jiggling it from side to side. If the cover still isn’t coming off, it may be the case that a grease build-up is sticking it in place. Give the interior of your oven a thorough cleaning with an oven-specific cleaning solution before attempting to remove the cover once again.
4. Swap Out the Blown Lightbulb
With the cover removed, you can then move on to the bulb replacement. Using gentle pressure, grasp the old bulb and turn it anti-clockwise to unscrew it from its socket. Take the new bulb and screw it in until it fits snugly. With this step, it’s important to ensure the bulb is neither too loose nor too tight in the socket. You should keep screwing in the bulb until you feel a slight resistance, at which point you should stop.
As an additional note on bulb types, take care when handling new halogen bulbs; oils on your hands can transfer onto halogen bulbs, which may consequently damage them or shorten their lifespan. Avoid making direct contact with halogen bulbs by handling them with a tissue or while wearing cotton gloves. For incandescent bulbs, inspect the filament of the bulb to ensure it’s intact before placing the bulb into the oven.
5. Restore Power to Oven and Test Bulb
Once the bulb is in the socket, replace any coverings and fasteners that were originally securing it in place. Reconnect your oven to its power source and switch it on to test the bulb. All going well, the new bulb should light up as normal.
If your oven bulb still fails after following the previous steps, there may be a fault with its housing or socket. You’ll need to get in contact with an electrical professional to inspect your oven and carry out any necessary repairs.

